


| Version 5 (modified by scheusso, 17 years ago) (diff) |
|---|
Using KDevelop as your IDE
Necessary steps
If you want to code comfortable then we suggest you to use an IDE. The below steps describe how to use KDevelop as your IDE.
1.a) Go to the orxonox build directory:
cd ~/orxonox/trunk/build1.b) Make sure you didn't run cmake before in this directory. If you did, just remove the CMakeCache file (note: you will have to rebuild the project afterwards, if you do this)
rm -f CMakeCache.txt
- Let cmake produce the basic KDevelop project file:
cmake -GKDevelop3 ..
- Run KDevelop and open your project file (Project → Open Project)
Edit essential options
- Go to Project→Project Options choose Run Options and change following things:
| Executable | #PATH_TO_ORXONOX/build/bin/orxonox |
| Working Directory | #PATH_TO_ORXONOX/build/bin |
- Now choose Build Options, select Make, activate Run multiple jobs and change Simultaneous jobs (e.g. to 4)
Make KDevelop more efficient
In order to improve productivity you can activate / benefit from some features.
Shortcuts
- F8: Build the Project
- F9: Start the debugger (gdb based)
- If you want to define further shortcuts (i.e. Run Application) then you can configure them in Settings → Configure Shortcuts
Code Completion
If you want to use code completion do the following steps:
- Go to Project Options and select C++ Support.
- Enable Automatic Code Completion and set the preferred options.
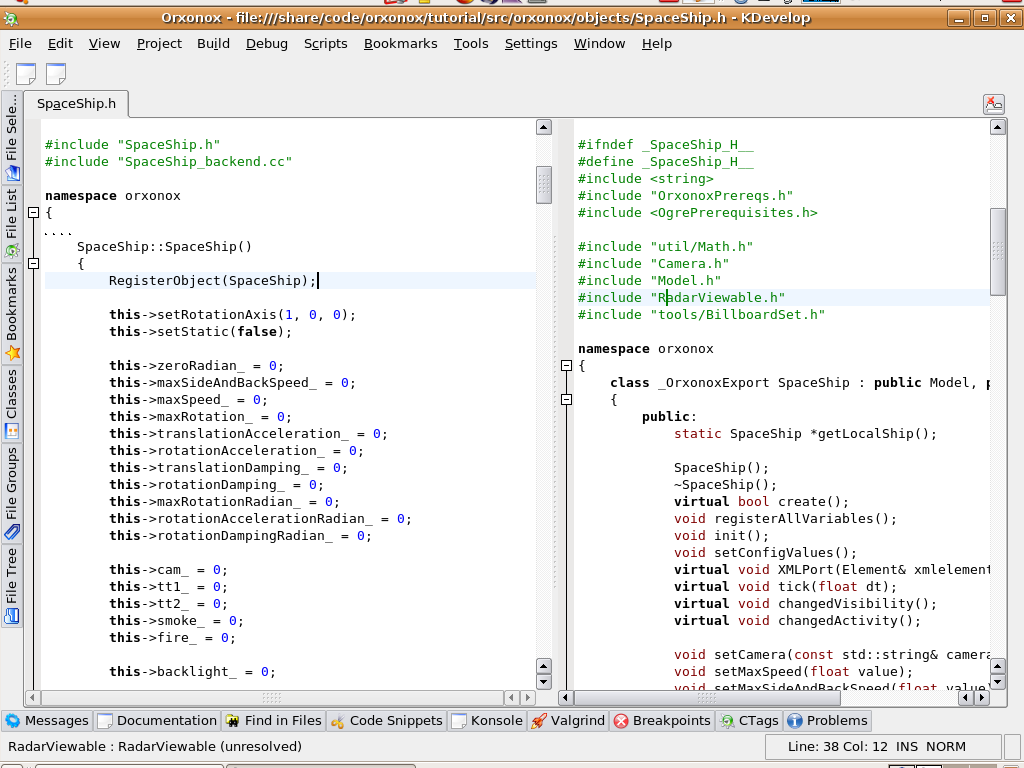
Split of Header/Source files
If you want to benefit from the following feature then follow the below steps.

- Go to Project Options and choose C++ Support.
- Select Navigation, enable Enable split of Header/Source files and change Orientation to Horizontal (if you want to)
- Choose File Groups and change Sources to "*.cc;*.cpp;*.c;*.C;*.cxx" (append *.cc)
- Open a Source file and press Shift + F12" (or alternatively just open the Header file and hope it works
 )
)
Attachments (1)
- split.png (161.5 KB) - added by scheusso 18 years ago.
Download all attachments as: .zip